I made a set and a purse for them to go in.

I think I will add some pockets on the inside to put like a bookmark and/or notebook.

My Stampin' Up Blog


 I decorated some candy with the batty for you stamp set and scallop punch. I aslo made a cute decoration with a clip. It can be used like pictured or put a photo in or use as a place seeting for parties.

 Here are some halloween projects I made recently.


 I made a treat box for the cards and envelopes to go in.
 These are post it holder I made with chipboard, someclips, scrapbook paper and some mod podge. So easy and fun. The second one below I actually toke the coasters from outback and covered it with scrapbook paper. Always looking for new ways to recycle.


 I just love making these bookmarks. They are so easy and fun to make. They make great gifts. So keep that in mind when looking for teacher gifts.


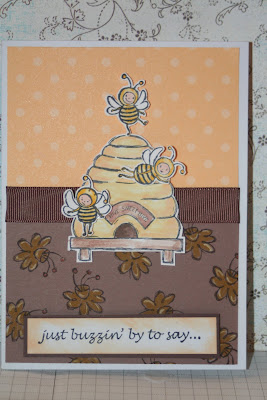
 Here are some more cards I made with stampin up products.

